2.1 Equipment
The items that we have used for the construction of the sensor are one of the Arduino, five extension wires, one breadboard, one photoelectric sensor, one LED, two resistors, one container, one A2 black paper.
The items we have used for the construction of the filter are one fan, two containers, one HEPA filter, seven charcoal bars, non-air resistant cloth, 2 plastic bags/wrappings.
The items we need to construct the parts are a hot glue gun, two hot glue cartridges, one normal tape, one double sided tape, one electrically-resistant tape, scissors, pen knife, ruler and three storage boxes.
The items we need to conduct the experiment are, the smoke/fog machine, Fog machine liquid and the code and software.
2.2 Diagram
Filter
Front view of filter
Side view of filter
Front view of fan
Air Sensor
View of Circuit board
View of inside of air sensor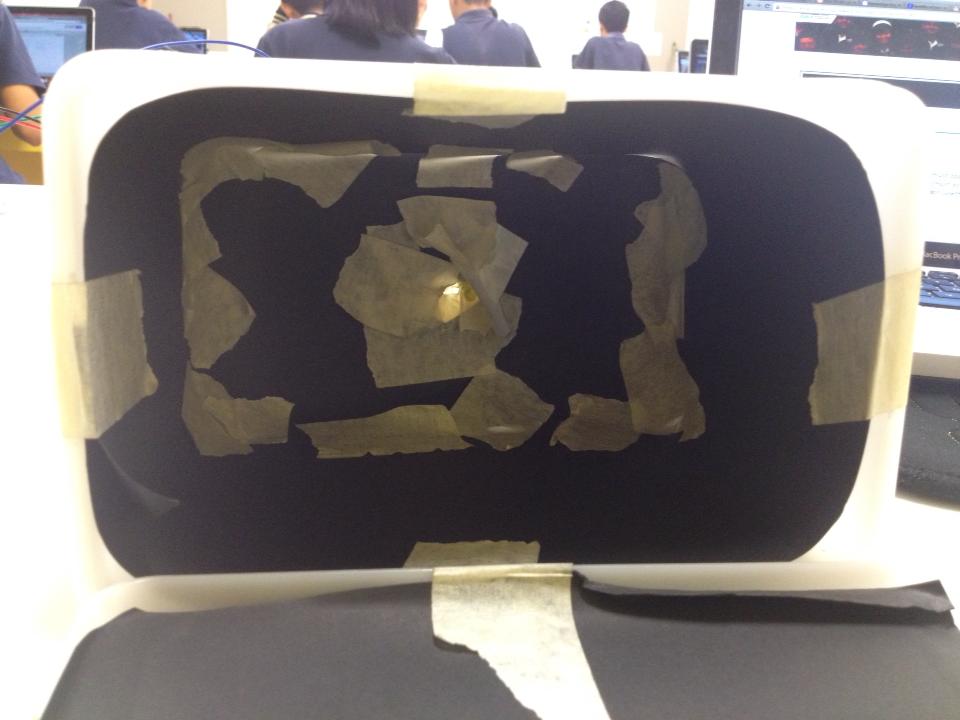
View of circuit board connected to the air sensor
2.3 Procedures
• Creation Procedures:
1. Get and organize the items and equipment for the project
2. Start by cutting a small circular hole in one side of a container
3. Place the torchlight at the outside of the container, with some light passing through the small hole into the container
4. Attach a Light sensor onto the other side of the container such that the light from the torchlight hit directly onto the sensor
5. Test the light sensor and check the reading on it. The reading will be very important as it will greatly affect how we are going to code the arduino later on.
6. Begin coding the arduino suiting the reading made by the sensor previously such that the reading should be substantially lower before the fans get activated.
7. Connect the two fans to the arduino
8. Test functionality of fan with the arduino
9. Hook up the sensor to a display and connect the sensor to the arduino
10. Run a test by smoking the sealed container and make sure the container is airtight. If the coding and the equipment works, the fans should activate quickly
11. Clear the container of smoke and test the mechanism again but this time without smoke for 10 minutes. It should not activate and if it does, the mechanism is faulty
12. After making sure the mechanism works, cut a hole through the top of the container that fits the fan exactly and glue the fan to the opening with the glue gun making sure the circuitry did not get damaged from the glue
13. Place an airtight pipe on the other side of the fan and glue them together, again making sure its airtight and does not damage the circuitry of the fan.
14. Get another big container and begin laying out the place for the HEPA filter and the carbon filter in the container
15. Cut the HEPA Filter to fit the measurements of the container and place the filter to the marked out location in the container
16. Fold the edges of the sheet of filter and tape it to the container walls with duct tape. Make sure it is airtight
17. Glue the remaining holes in the tape and sheet edges to make sure the air passes through the sheet instead of the edges or openings
18. Cut the Carbon Filter to fit the measurements of the container and place the filter to the marked out location in the container
19. Fold the edges of the sheet of filter and tape it to the container walls with duct tape, Making sure it is airtight
20. Glue the remaining holes in the tape and sheet edges to make sure the air passes through the sheet instead of the edges or openings
21. Place the earlier mentioned(step 13) pipe to the opening of the filter container and glue them together making sure it is airtight
22. Get the second fan and attach it to the other end of the filter container with glue
23. Get a larger container and partially fill it with water
24. Cut a hole with the diameter of the default pipe that we are using.
25. Get another pipe and attach one end to the second fan and another end to the earlier mentioned hole on the container with glue.
26. Make sure the pipe falls into the water and then curved upwards in the water to make air pass through the water without much disturbance from the water itself
27. Make another hole and attach it to another pipe at the top of the container.
28. Create a hole in the first container with the sensor and attach the pipe to it with glue.
29. Test the entire system with the smoke generator and check if the filtered air will turn off the sensor. If it does, the filtered air is clean. If it doesn’t, the filtered air needs to be filtered again.
• Test (Sensor) Procedures:
1. Get the setup (Sensor) from the cupboard if necessary and place on the ground
2. Make sure the setup is working by making sure the reading is around 180 when lid is closed and making sure the light is on and will not be affected by constant random movements of setup which allows us to find out whether the LED and the sensor is going to work properly throughout the test and experiments.
3. Close the lid and take the screenshot of the readings after 2 seconds. That is going to be the base or control reading.
4. Get ready the smoke/haze/fog machine and plug it into a socket on a wall. Make sure the area is outdoors and is open. Make sure the area does not expose too many people to the smoke generated during the tests and if it does, move to a better location.
5. Check if the machine has liquid fuel by unscrewing the cap at the back of the machine. If it doesn’t have or has very little liquid fuel or completely empty, get the bottle of liquid fuel from the research lab and pour into the hole till it is half filled or ask for assistance from teacher. After that, switch on the socket and wait for the generator to warm up
6. While the generator is warming up, make sure there are no opening in the setup for light to pass through and if there is any, cover it with tape or other materials to keep the setup from any light.
7. Get ready by opening the setup lid and facing the opening to the opening of the smoke generator.
8. Get hold of the generator’s controller and get another person to get ready with the lid, sitting or preferably standing beside the setup and the generator.
9. Click the button once and smoke will rush out of the generator. The person with the lid will close the setup before the smoke stops coming out.
10. The last person, who is suppose to be beside the laptop at all times, looking at the change of the readings, should check the difference in the reading when the smoke gets into the setup and also 2 seconds after the smoke has entered the setup.
11. He should be taking screenshots of the reading after 2 seconds and should react if the reading is indifferent or really peculiar or weird and tell the other members to fix the setup.
12. The person who is incharge of the lid should remove the lid after the 10 seconds and get the smoke out of the setup.
13. At the end of the experiment, we will find the difference between the control reading and the reading with smoke and will analyse the data which will be talked about later on.
14. After the setup has been cleared from smoke, repeat steps 7-12 if needed to.
• Test (Filter) Procedures:
1. Get the setup (Filter as well as sensor) as well as the smoke machine and fan from the cupboard if necessary
2. Make sure the area does not expose too many people to the gas that will be used and the area should also have two adjacent or very close power sockets on the wall so that we will be able to test out our system effectively.
3. Get ready the smoke/haze/fog machine and plug it into a socket on a wall. Make sure the area is outdoors and is open.
4. Check if the machine has liquid fuel by unscrewing the cap at the back of the machine. If it doesn’t have or has very little liquid fuel or completely empty, get the bottle of liquid fuel from the research lab and pour into the hole till it is half filled or ask for assistance from teacher. After that, switch on the socket and wait for the generator to warm up.
5. Get the fan which is in the setup itself and plug it into another socket in the wall. The fan should work when the switch is turned on and if it doesn’t, get it checked by a teacher.
6. After that, switch on the fan and wait for afew seconds
7. Get the sensor setup ready and attach it to the filter setup at the back if it is not already done so with tape and/or glue. The whole thing should be Smoke Machine -> Fan -> Filters -> Sensor
8. The fan and smoke machine should work simultaneously as well as the sensor which is to be attached to the laptop instead of the power socket on the wall.
9. The first person should be a distance from the smoke generator, with the remote whereas the second person should be on the computer, looking at the readings constantly while the last person should be near the setup just so anything happens (Which will be talked more about in step 10)
10. The first person will press the button once and the smoke will enter the setup
11. The second person should look at the readings like a hawk and find any indifference to the reading on the computer
12. The last person should make sure that everything goes out okay with the whole setup, especially the leakage of gas, sudden disability of the sensor or the fan and should be ready to amend any problems that crop up during the test.
13. If the setup works, the reading should be indifferent or barely any change from the smoke.
2.4 Risk Assessment and Management
1. Handling electrical parts (Arduino, sensor)
We should make sure we handle with care and make sure the equipment is not spoilt and does not pose any risks.
2. Handling the Fan
We should make sure the fan is far away from hands reach because the fan will be very strong and dangerous with a modified motor.
3. Power Outlet
We should make sure we do not use the power outlet dangerously when we are plugging in the device into it
4. Shaping the building material
If we are going to shape the material, we are going to need to make sure we do not bruise, burn or cut ourselves when we try to shape the material. We should also keep ourselves from the glue gun and the glue itself so as to not endanger ourselves in any way.
5. Making the Filters
There are many risks in building the filter. Cuts, bruises, etc. We should make sure the material is not sharp when we are going to handle it.
6. Storing of materials
Though this might not be highly relevant pertaining to safety issues, we need to be careful in keeping and storing our materials and parts as they might get damaged or might even hurt people if placed in inappropriate ways
7. Unhealthy levels of smoke
During our building process, we might have to test our product by flooding it with smoke to make sure that our product is working well. Thus, this might pose as a threat to us if we face the smoke without taking any precautionary measures such as wearing a mask or clearing the room.
8. Faulty Materials
Before starting the actual building process, we need to check all our materials and parts to make sure none of them are faulty to curb the risk of anything going wrong or malfunctioning. However, if we do not check the materials, things such as harmful gases might escape while we test our product.
9.Buying of materials
Despite the fact that this takes place outside of the lab, we still need to make sure that we are safe and that we do not go to unsafe places. We must not take this lightly and if possible, we should have a teacher accompany us while we get the parts and materials.
10.Following of lab procedures
More often than not, lab procedures are often ignored. These rules include not running around, wearing of gloves and safety goggles and so on. These rules are important and must not be broken to ensure everyone’s safety in the lab.
11.Well planned procedures
We need to carefully plan our procedures before we execute them. A poorly planned procedure would lead to careless mistakes or even getting someone injured. So, we need to make sure that everything we plan is in order. Like the famous saying by Benjamin Franklin, “If you fail to plan, you are planning to fail!”.
2.5 Data Analysis
This was the reading we got from the air quality sensor when there was no smoke and when the air was as clean as possible. Thus, we know that when the air is of normal standard, the value of the air sensor would be roughly 123 to 127.

This was the reading we got from the air quality sensor when there was smoke and when the air was as polluted as possible. Thus, we know that when the air is very polluted, the value of the air sensor would be roughly 59 to 76.

Thus we can infer from our data that when the reading of the air quality sensor is high, it means that the air quality is good. When the reading from the air quality sensor is low, it means that the air quality is bad. Thus, we know to look out for a high number if the air quality is good and to look out for a low number is the air quality is bad. Thus, if we get a reading of 90, we know that the air quality is not so good. If we get a reading of 110, it means that the air is of very good quality.

For the air filter, it is seen that when we use it, the reading of the sensor would jump from 59 to 76, to 104-106. When there is a boost in reading, it means that the air is getting cleaner, thus we are able to conclude that our air filter is working and is improving the air quality.
No comments:
Post a Comment